
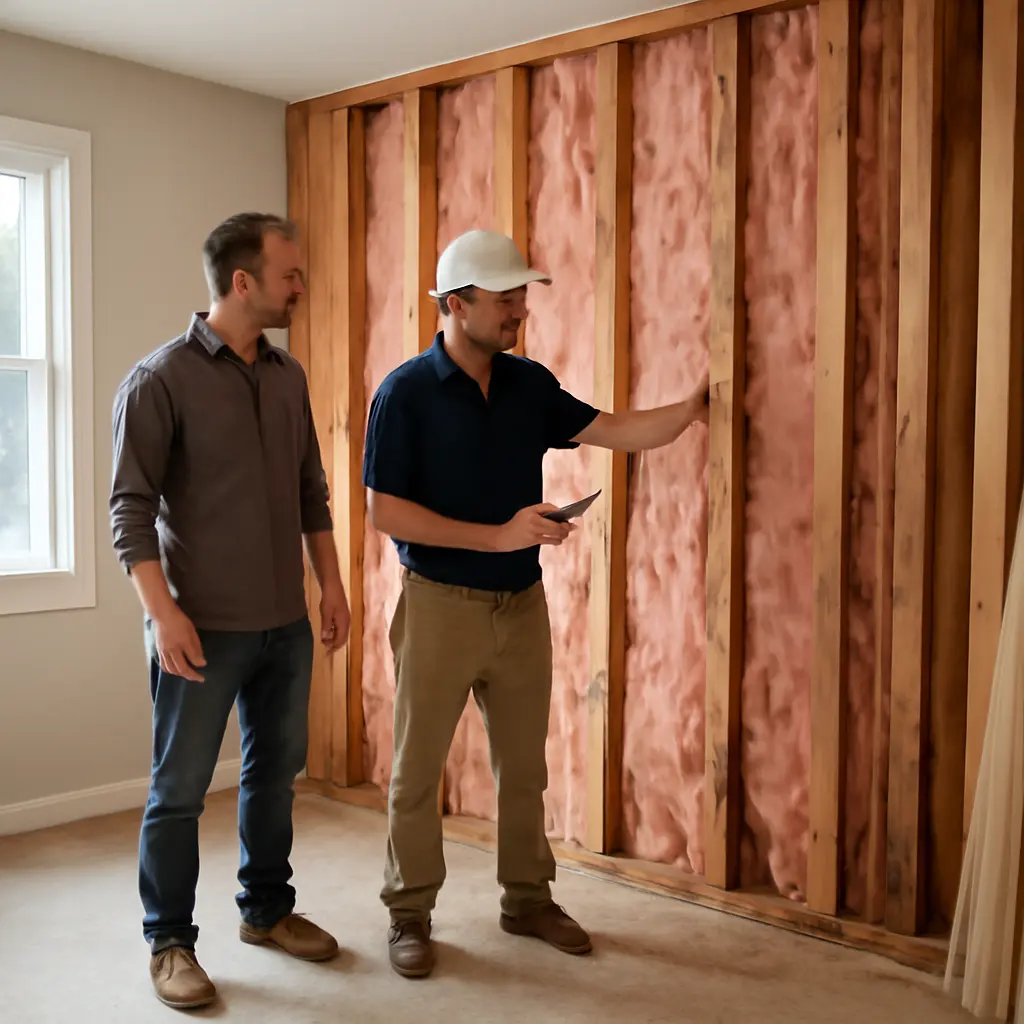
Insulation upgrades change more than a wall’s R-value: they alter how heat, air, and moisture move through the building assembly. Done well, they can improve comfort and reduce heating and cooling demand; done without checking the existing wall, they can also trap moisture or leave hidden gaps. The U.S. Department of Energy says properly installed insulation can help lower energy bills, while the National Renewable Energy Laboratory’s residential field research underscores that real-world performance depends on installation quality. Understanding how installers assess a wall, add insulation, manage air and vapor movement, and verify the result helps homeowners make safer, more effective choices.
How insulation upgrades change a wall assembly
A wall assembly is the complete layered system between indoors and outdoors: interior finish, framing and cavity, sheathing, water-control layers, insulation, and exterior cladding. The U.S. Department of Energy describes insulation performance in terms of resistance to heat flow, expressed as R-value; higher R-values indicate greater resistance, but the value of a wall depends on the whole assembly and how consistently insulation is installed.
When insulation is added, it slows conductive heat transfer through the wall. The upgrade may also affect air leakage and moisture movement, although insulation alone is not necessarily an air barrier or a vapor retarder. Common approaches include filling existing cavities, adding insulation from the exterior during a siding project, and installing continuous insulation across framing. Each method changes the wall differently, so the existing materials, climate, and moisture history matter.
Heat flow, framing, and thermal bridges
Heat flows from warmer areas toward cooler ones. In a framed wall, it moves through both insulated cavities and wood or metal studs. Studs conduct heat more readily than many cavity insulations, creating thermal bridges—localized paths that can make interior surfaces colder and reduce whole-wall performance compared with the insulation’s rated value.
Continuous insulation, installed across the exterior or interior face of framing, can reduce those bridges. The U.S. Department of Energy’s guidance on insulation and building envelopes emphasizes selecting insulation for the application and installing it without voids or compression. A nominal R-value is not a guarantee of the same performance across every square foot of a wall.
Air leakage is a separate pathway
Air leakage is the uncontrolled movement of air through cracks, gaps, and joints in the building enclosure. It can carry heat and water vapor, and it can make rooms feel drafty even when wall cavities contain insulation. Fiberglass and mineral-wool batts, for example, generally slow heat flow but should not be assumed to seal every crack around wiring, plumbing, windows, or framing.
A complete upgrade therefore treats insulation and air control as related but distinct tasks. The U.S. Environmental Protection Agency’s ENERGY STAR guidance recommends identifying and sealing common air leaks as part of home energy improvements. Sealing must be planned alongside ventilation and combustion safety; a tighter home may need appropriate mechanical ventilation, especially where fuel-burning appliances are present.
What happens during an insulation upgrade
The sequence depends on whether the wall is open, whether cladding is being removed, and whether insulation is added through small access holes. A sound project starts with diagnosis rather than simply injecting material. The U.S. Department of Energy advises homeowners to consider climate, existing construction, and the recommended insulation level before choosing a product or method.
Inspection and assessment
Before work begins, an installer should identify the wall type, cavity depth, existing insulation, wiring and plumbing, signs of water intrusion, and any previous repairs. A blower-door test can estimate whole-house air leakage, while infrared imaging under suitable temperature conditions can help reveal missing insulation or air-leakage patterns. Neither tool replaces a close inspection: thermal images show surface-temperature differences, not a definitive diagnosis of their cause.
Moisture stains, musty odors, peeling finishes, or deteriorated sheathing should be investigated before a cavity is filled. Covering a water problem can make future inspection harder and may worsen damage. In older homes, assessment should also consider hazardous materials and the condition of concealed electrical systems.
Installing insulation in closed walls
For a closed wall, contractors may drill access holes through interior or exterior finishes and use blown cellulose, fiberglass, or another suitable material to fill cavities. The material must be installed at the correct density and distributed around obstructions. Poorly filled areas, settled material, and blocked cavities can leave cold spots that undermine the upgrade.
Dense-pack cellulose is often used in existing framed walls because it can be installed at a controlled density, but suitability depends on the wall and installation details. Other systems, including injected foam, have different expansion, drying, and repair characteristics. Homeowners should request the product’s technical data, the installer’s method, and a plan for confirming that cavities were filled.
Upgrading from the exterior or with walls open
When siding is removed or a home is renovated, installers can inspect sheathing directly, repair damage, improve air-control details, and add continuous insulation before replacing the cladding. This approach can reduce thermal bridging and make critical transitions—such as those around windows and at the foundation—easier to address. It is usually more disruptive and costly than filling existing cavities, but it can provide a more comprehensive opportunity to improve the enclosure.
With the wall open from indoors, batts or other products can be fitted around framing and services. Batts need to fill the cavity without being compressed or left with gaps; cuts around boxes and pipes should fit closely. The North American Insulation Manufacturers Association’s installation guidance stresses proper fitting because workmanship affects the installed performance.
Moisture, drying, and indoor air quality
Insulation changes temperatures within a wall, which can shift where moisture condenses and how quickly materials dry. Moisture can enter through rain leaks, plumbing leaks, humid indoor air, or vapor diffusion. The Building Science Corporation explains that wall performance depends on controlling bulk water, air movement, vapor diffusion, and drying—not on insulation alone.
Condensation risk and vapor control
Condensation occurs when moist air or a material surface reaches conditions that allow water vapor to become liquid. Adding insulation can make exterior sheathing colder in winter by reducing heat flowing outward from the interior. In some climates and wall designs, that can increase the importance of air sealing, rain control, and carefully chosen vapor-control layers.
There is no universally correct vapor-barrier location for every house. Climate zone, interior humidity, exterior insulation, cladding, and existing layers all affect the design. Building Science Corporation guidance cautions against treating a vapor-impermeable layer as a substitute for a complete moisture-management strategy. Before insulating a wall with a history of dampness, have the water source identified and the assembly evaluated.
Drying potential and mold prevention
Walls need a safe path to dry when they become wet. Some assemblies can dry inward, some outward, and some in both directions; adding low-permeance materials may reduce one of those paths. The U.S. Environmental Protection Agency notes that controlling moisture is the key to mold control. Insulation should not conceal leaks or be installed over wet materials without resolving the cause and confirming that the assembly can dry appropriately.
Ventilation and indoor air quality
A better-sealed home can reduce drafts and outdoor pollutant entry, but it can also reduce the accidental air exchange that previously diluted indoor contaminants. The U.S. Environmental Protection Agency recommends source control and adequate ventilation as central indoor-air-quality measures. After a major air-sealing project, verify that bathroom and kitchen exhaust systems work and that combustion appliances vent safely; ask a qualified professional whether mechanical ventilation is appropriate.
Benefits, limits, and how to verify the work
A successful insulation upgrade can make rooms more comfortable, reduce temperature swings, and lower energy use. Savings vary with climate, energy prices, the home’s starting condition, occupant behavior, and installation quality, so a single percentage should not be promised for every house. The U.S. Department of Energy’s Energy Saver guidance recommends combining insulation with air sealing and selecting improvements based on the building and local conditions.
Expected benefits and realistic limits
Insulation most directly reduces heat transfer through the parts of the envelope it covers. It will not, by itself, fix leaky windows, poorly sealed rim joists, an uninsulated attic, or an inefficient heating system. Nor does a higher product R-value automatically yield a proportional reduction in a utility bill: whole-house results depend on all major heat-loss paths and how the home is operated.
The U.S. Energy Information Administration’s Residential Energy Consumption Survey tracks household energy use and shows that space heating and cooling are major residential energy end uses, although their share varies by region and household. That makes envelope improvements relevant, but it also reinforces why local climate and baseline conditions should guide priorities.
Quality checks after installation
Ask for documentation showing the insulation product, installed depth or density, coverage, and any air-sealing work. For cavity fills, confirm that access holes were repaired and that the contractor has a method for checking coverage. If the project includes exterior work, inspect flashing, water-resistive barriers, and transitions around windows and doors before they are concealed.
- Compare rooms for persistent drafts or unusually cold surfaces once the home is operating normally.
- Check for new condensation, musty odors, or staining during the first heating and cooling seasons.
- Keep receipts, product specifications, warranties, and any test results with the home’s maintenance records.
- Use an independent energy assessment or qualified building professional if comfort problems remain.
A practical example: insulating during a siding replacement
A homeowner replacing deteriorated siding has an opportunity to inspect the sheathing, repair leaks, seal penetrations, and add exterior continuous insulation before installing new cladding. Compared with drilling into finished walls, the work exposes more of the assembly and can reduce stud-related thermal bridges. The design still needs compatible flashing, attachment details, and moisture control; simply adding a layer without adjusting window and roof-wall transitions can create problems rather than solve them.
A useful visual for planning is a simple wall-section diagram showing interior finish, framing and cavity insulation, sheathing, water-control layer, continuous insulation, drainage space, and cladding. A second diagram can compare heat-flow paths through a stud and through an insulated cavity, illustrating why continuous insulation changes whole-wall performance.
Conclusion: treat the wall as a system
An insulation upgrade changes heat flow, air movement, and moisture conditions inside the wall. The best results come from assessing the existing assembly, choosing a compatible insulation method, controlling air and rain, preserving appropriate drying paths, and checking installation quality. Because energy savings and moisture risks depend on climate and construction, avoid choosing a product on R-value alone. Before work begins, request a wall-specific plan from a qualified contractor or building-science professional, and consult the U.S. Department of Energy and local energy programs for guidance on appropriate improvements.
Sources: U.S. Department of Energy, Insulation, https://www.energy.gov/energysaver/insulation; U.S. Department of Energy, Energy Saver: Air Sealing Your Home, https://www.energy.gov/energysaver/air-sealing-your-home; U.S. Environmental Protection Agency, A Brief Guide to Mold, Moisture and Your Home, https://www.epa.gov/mold/brief-guide-mold-moisture-and-your-home; U.S. Environmental Protection Agency, Introduction to Indoor Air Quality, https://www.epa.gov/indoor-air-quality-iaq/introduction-indoor-air-quality; Building Science Corporation, BSD-012: Moisture Control for New Residential Buildings, https://buildingscience.com/documents/digests/bsd-012-moisture-control-for-new-residential-buildings; North American Insulation Manufacturers Association, Insulation Installation, https://insulationinstitute.org/; U.S. Energy Information Administration, Residential Energy Consumption Survey, https://www.eia.gov/consumption/residential/